Affiliate links on Android Authority may earn us a commission.Learn more.
Android M data binding: Step by step guide for developers
June 05, 2025
During the Google I/O conference, I heard developers talking about “not having to callfindViewById” and “not having to callsetText.” It’s true that data binding eliminates the need for these method calls. But if you interpret “not having to callsetText” as “saving you a line of code,” you’re missing the point. To eliminate only one or twosetTextcalls (as I do in this article’s simple example), you must replace the calls with at least dozen new lines of code. The real power of data binding doesn’t come when you avoid one or twosetTextcalls. It comes when the updating of a value occurs at many points in an app’s code. In that situation, the developer doesn’t have to keep track of all the ways a value can be updated. Instead, data binding creates a permanent tie between the data and the UI.
The official documentation on data binding is athttps://developer.android.com/tools/data-binding/guide.html. The documentation has a few typos and (in my opinion) omits some useful details. So in this article I present the steps that I’ve taken to get a basic data binding example running. I also warn you about a few pitfalls that I met along the way. (All of this information is current as of July 21, 2025. Android’s beta’s change quickly. So I make no promises about the steps that you’ll be following at any later date.)

Step 1:Get Android Studio 1.3 beta.
You can get it athttp://tools.android.com/download/studio/canary. Note that builds of Android Studio come via several channels — the stable channel, the beta channel, the dev channel, and the canary channel. In spite of being named “beta,” the 1.3 beta version of Android Studio isn’t available through the channel named “beta.” Instead, you download this version through the “canary” channel.
If you’re already running the canary version of Android Studio, you don’t have to visit the tools.android.com web site. When you launch Android Studio, you’ll be prompted to update to the 1.3 release.
Step 2:With Android Studio 1.3 running, open the Android SDK Manager to get the Android MNC Preview (the SDK for Android M) and the Android Support Repository (rev. 15 or later). Also open the Android AVD Manager to create an AVD that uses the Android M preview.
When I created this example, I had to experiment to find an Android M AVD that doesn’t stall when I attempt to run it. I tried several AVDs on my Mac with no luck. On Windows, I was able to get the x86_64 version running on a Nexus 6 skin. When the Android M preview emulator finally started up, it notified me that the SD card is damaged. I dismissed the notification with no ill results. Your results with the Android emulator will most certainly be different.
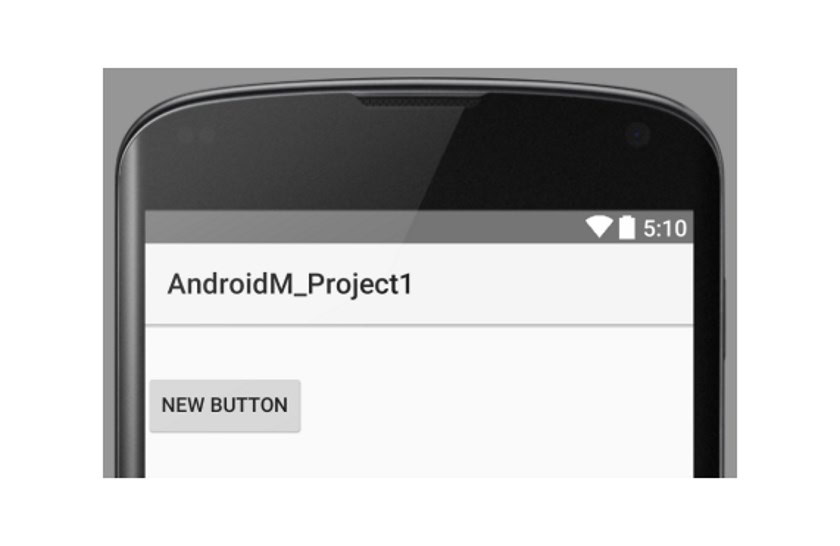
Step 3:Back in Android Studio’s main window (or the Android Studio Welcome screen) start a new phone/tablet project.
For the Minimum SDK select MNC: Android M (Preview). Otherwise, simply accept the defaults for creating a new project.
Step 4:Edit the new project’s code. Start by adding adataBinderclasspath dependency in the project’s build.gradle file. (See the boldface line below.)
Remember: A new Android Project has two build.gradle files — one for the project and one for the module within the project. The newcom.android.databinding:dataBinderdependency belongs in the project’s build.gradle file.
Step 5:Add a few lines to the other build.gradle file (the module’s build.gradle file):
Once again, I’ve set the newly added lines in boldface type. All the other lines can remain as they were in the code that Android Studio generated. Of course, your project’s package name probably isn’tcom.example.androidm_project2as it is in my code. Just make sure that the SDK versions include the lettersMNC.
When you use data binding, Android Studio generates some code that contains binary literals such as0b1000L. So the project demands Java 7 rather than Java 6. That’s why, in the module’s build.gradle file, I added acompileOptionselement to the project’s build.gradle file.
Step 6:Edit the app’s layout file.
In this very simple layout file, I’ve set only the interesting text in boldface:
At the present time (early June 2015), Android Studio’s editor displays error markers on the start and end tags. But these error markers don’t prevent the app from running.
My simple layout file identifies several items:
You’ll create User.java in the next step.
You’ll declare this field in the app’s main activity.
These twoandroid:textattributes begin the work of connecting text views with data values. If you look at the UI in Android Studio’s preview screen, you’ll see empty space where these text views normally appear.
I apologize to those who find theandroid:onClickattribute distasteful. If you’re one of these people, use anOnClickListenerinstead.
Step 7:Add thisUserclass to your code (with the package declaration tweaked appropriately):
The secret sauce in thisUserclass code has two ingredients: the@Bindableannotations and the calls tonotifyPropertyChanged.
When you first type thisUserclass code, Android Studio’s editor might complain about the BR class name. You won’t have a generated BR.java file until you build the project, and you haven’t built the project yet. Eventually, you’ll have a BR.java file that looks something like this:
Step 8:Add lines to your app’s main activity.
This article’s main activity “swats a fly with a bulldozer.” It illustrates the simplest possible use of Android’s new data binding feature. Here’s the code:
You might see some error markers when you type this code. That’s because Android Studio doesn’t generate the ActivityMainBinding.java file until you build your project. Thus, the next step.
Step 9:In Android Studio’s main menu, choose Build->Make Project.
When the build is finished, the new 160 line ActivityMainBinding.java file contains asetUsermethod (a method that’s called in your activity’sonCreatemethod). In your project’s main activity, the call to thissetUsermethod creates the last link in the chain between theuserfield’s data and the text in the UI.
Your project is ready for testing.
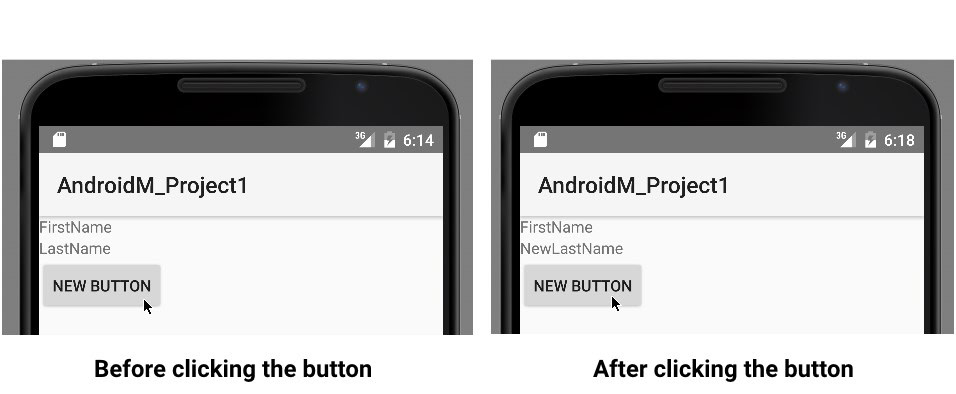
Step 10:Run the app and watch it work.
In the main activity, I make a click of the UI’s button change the value of the user object’slastNamefield. (I callsetLastNamein the activity’sonButtonClickmethod.) When this happens, the automatically generatedActivityMainBindingclass calls asetTextmethod.
ThesetTextmethod changes the text in the second text view on the device’s screen.
The screen is plain, but the underlying code is very cool.
Data binding has been available for a long time on many different platforms. But with Android M, this powerful feature makes its way into the Android developer’s bag of tricks.
Thank you for being part of our community. Read ourComment Policybefore posting.
