Affiliate links on Android Authority may earn us a commission.Learn more.
Create richer location-aware Android apps with the Google Places API
July 21, 2025
Google Play Service’s Location APIs give you an easy way of displaying the user’s current location, but there’s only so much value you’re able to get out of a “You Are Here”-style marker on a Google Map! The Google Places API is a powerful tool which can add an extra layer of functionality to your location-aware apps by giving you access to detailed information about a huge range of places, located all across the globe.
You can use this information as the basis for all kinds of functionality. You might add a Facebook-style check-in feature to your app, or create an app that lets users browse all the take-out spots that’ll deliver to their current location.
Even if you look at the classic location-aware example of a navigation app, cross-referencing user queries against a directory of places means users won’t always have to enter full street addresses. Being able to ask “can you show me the fastest route to the Googleplex?” is a far better user experience than “can you show me the fastest route to 1600 Amphitheatre Parkway, Mountain View?”
In this article we’ll be using the Google Places API to create a location-aware app where the user can explore and gather information about places of interest in their immediate area, and anywhere in the world.

Is Google Places free?
Yes, but it’s complicated — especially if you’re using other APIs in your project.
The Google Places API for Android is free to use, but limited to 1,000 requests per 24 hours by default. Once you’ve setup this API, you may monitor how many requests it’s processing in theGoogle API Console. Your app will start to fail if it ever exceeds 1,000 requests in a 24 hour period. If your project is approaching this limit you’ll need to increase your quota.

You can increase the limit to 150,000 requests per 24 hours, free of charge, by creating abilling profilein the Google API Console. This requires you to enter your credit card details and mark the project as billable. Although the Google Places API is free to use, at this point your entire project is billable. If you use any billable APIs in your project, you may be charged based on their usage.
If you’re using any other APIs, carefully check their documentation and terms and conditions before increasing your Google Places limit.

If you get caught out, you can disable billing at any time in theBilling pane. This will restrict all your APIs to their courtesy usage limit, and you’ll no longer be charged for any APIs in this project.
Do you have the latest version of Google Play Services?
With that disclaimer out of the way, let’s create our application! The first step is make sure you have the latest version of Google Play services installed:
Get your project’s fingerprint
Create a new project with the settings of your choice, using theEmpty Activitytemplate.
In order to access the Google Places API, you need to generate an API key with Android restrictions. This means linking the API key to your project’s package name and certificate fingerprint (SHA-1).

There’s several ways to find your project’s SHA-1 fingerprint, but the easiest method is via theGradle Console:
We’re using the debug certificate fingerprint, which is generated automatically when you create a debug build. This certificate is only suitable for testing your applications, so before publishing an app you should always generate a new API key based on the release certificate.
Generating your API key
Open a web browser, and complete the following steps:
Add the Places API as a project dependency
Open your project’s module-level build.gradle file and add the latest version of the Google Places API as a dependency:
Picking a place: Creating your layout
The Google Places API includes a ready-made place picker widget, which will form the basis of our application.
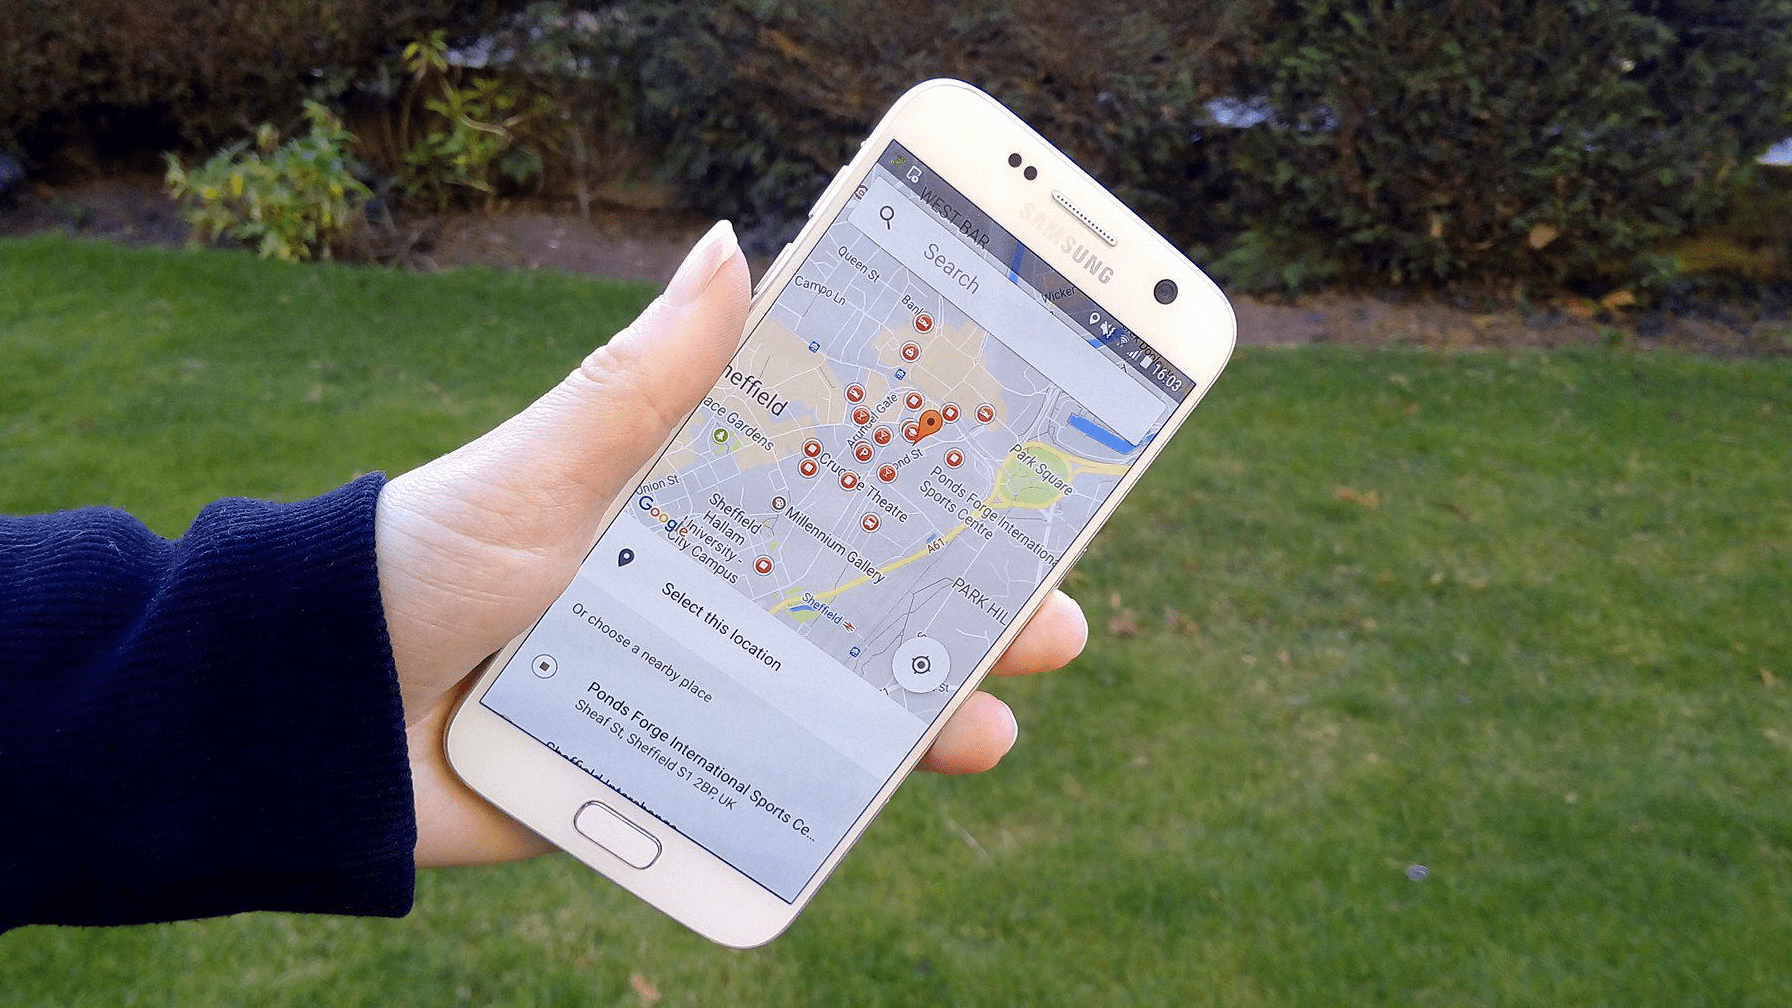
The place picker displays this kind of information:
When selecting a place, the dialog gives you several options:
Once you find a place you want to learn more about, just give it a tap and chooseSelectfrom the popup that appears. The place picker reacts by creating a Place object containing a range of information. In our application, we’re going to retrieve the place’s name and street address, and display that information on a subsequent screen.
By using the ready-made place picker dialog, you ensure your application is consistent with every other app that features this dialog, including Google’s own applications. This consistency means some of your users may immediately know how to interact with this part of your application, having encountered this dialog many times before in other applications. Using ready-made components wherever possible just makes sense! Why waste time recreating functionality that already exists?
When the user selects a location using the place picker, this data doesn’t persist, so if they rotate their device after selecting a location, the app will return to its initial state.
We’ll be implementing the place picker widget programmatically, so in ouractivity_main.xmlfile we just need to do this:
That last point requires some explanation. On every screen where an app uses data sourced from the Google Places API, it must display either a Google Map or “Powered by Google” logo.
Since we’ll be displaying the place’s name and address in ouractivity_main.xmlfile, we need to include a “Powered by Google” logo.
The Google Play services library provides two versions of this image:
You can’t resize or modify these images in any way.
Here’s the finished layout:
Launch the Place Picker dialog
In ourMainActivity, we need to perform the following:
Here’s the completedMainActivity:
You candownload the complete Google Places API application, minus the API key, from GitHub.
Testing your application
Install your project on an Android device. As soon as you launch the app, it should ask for access to your location. Grant this request and then tap thePick a Placebutton to launch the place picker dialog.
Select a place using the place picker’s integrated Google Map, the list, or the search bar, and aUse this place?dialog will appear. This dialog will display different information, depending on the location you’ve selected, ranging from the place’s full name, address, and photo, to a simple string of GPS coordinates if Google Places doesn’t have any information about your chosen location.
If you want to use this place, tapSelector choose a new location by tappingChange location.
Once you’ve selected a place, theactivity_mainlayout will update to display the place’s name and address, or a string of GPS coordinates if that information isn’t available.
What other information can I display?
The great thing about the Places API is once you’ve retrieved a Places object, the hard part is done! Your app can extract a range of information from this object:
Since our app already has access to the Places object, we can display any of the above details, just by changing a few lines of code. Here we’re displaying the phone number and price level of the selected place:
Wrapping up
In this article, I showed you how to add an extra layer of detail to your location-aware apps, using the Google Places API. It’s also easy to pull extra information from the Places API once you’ve retrieved that all-important Places object.
Have you seen any apps using Places information in interesting ways? Let us know in the comments below!
Thank you for being part of our community. Read ourComment Policybefore posting.
