Affiliate links on Android Authority may earn us a commission.Learn more.
How to make an Android app with Xamarin
August 08, 2025
In a previous post, we learned how to set up Xamarin and Visual Studio for Android development and covered one or two basics of how it works. We also looked at some basic code to allow us to count “clicks” on the screen. Check it out if you’re looking for a brief introduction to the IDE and what it can do, then rejoin us here.
In this post, we’ll dive a little deeper and create a very basic app. This will be a simple math game, but in setting it up we’ll learn how to do a few things in Xamarin like handle variables, use graphics, import classes, and test our game on a physical device. These skills will naturally allow you to develop more complex apps in Xamarin down the track.

Creating your first project
To get started, load up Visual Studio, clickFile > New Projectand select “Android” on the left underneathInstalled > Visual C#. If you don’t see it there, followthese instructions.
Pick “Blank App (Android)” on the right and you’re good to go.

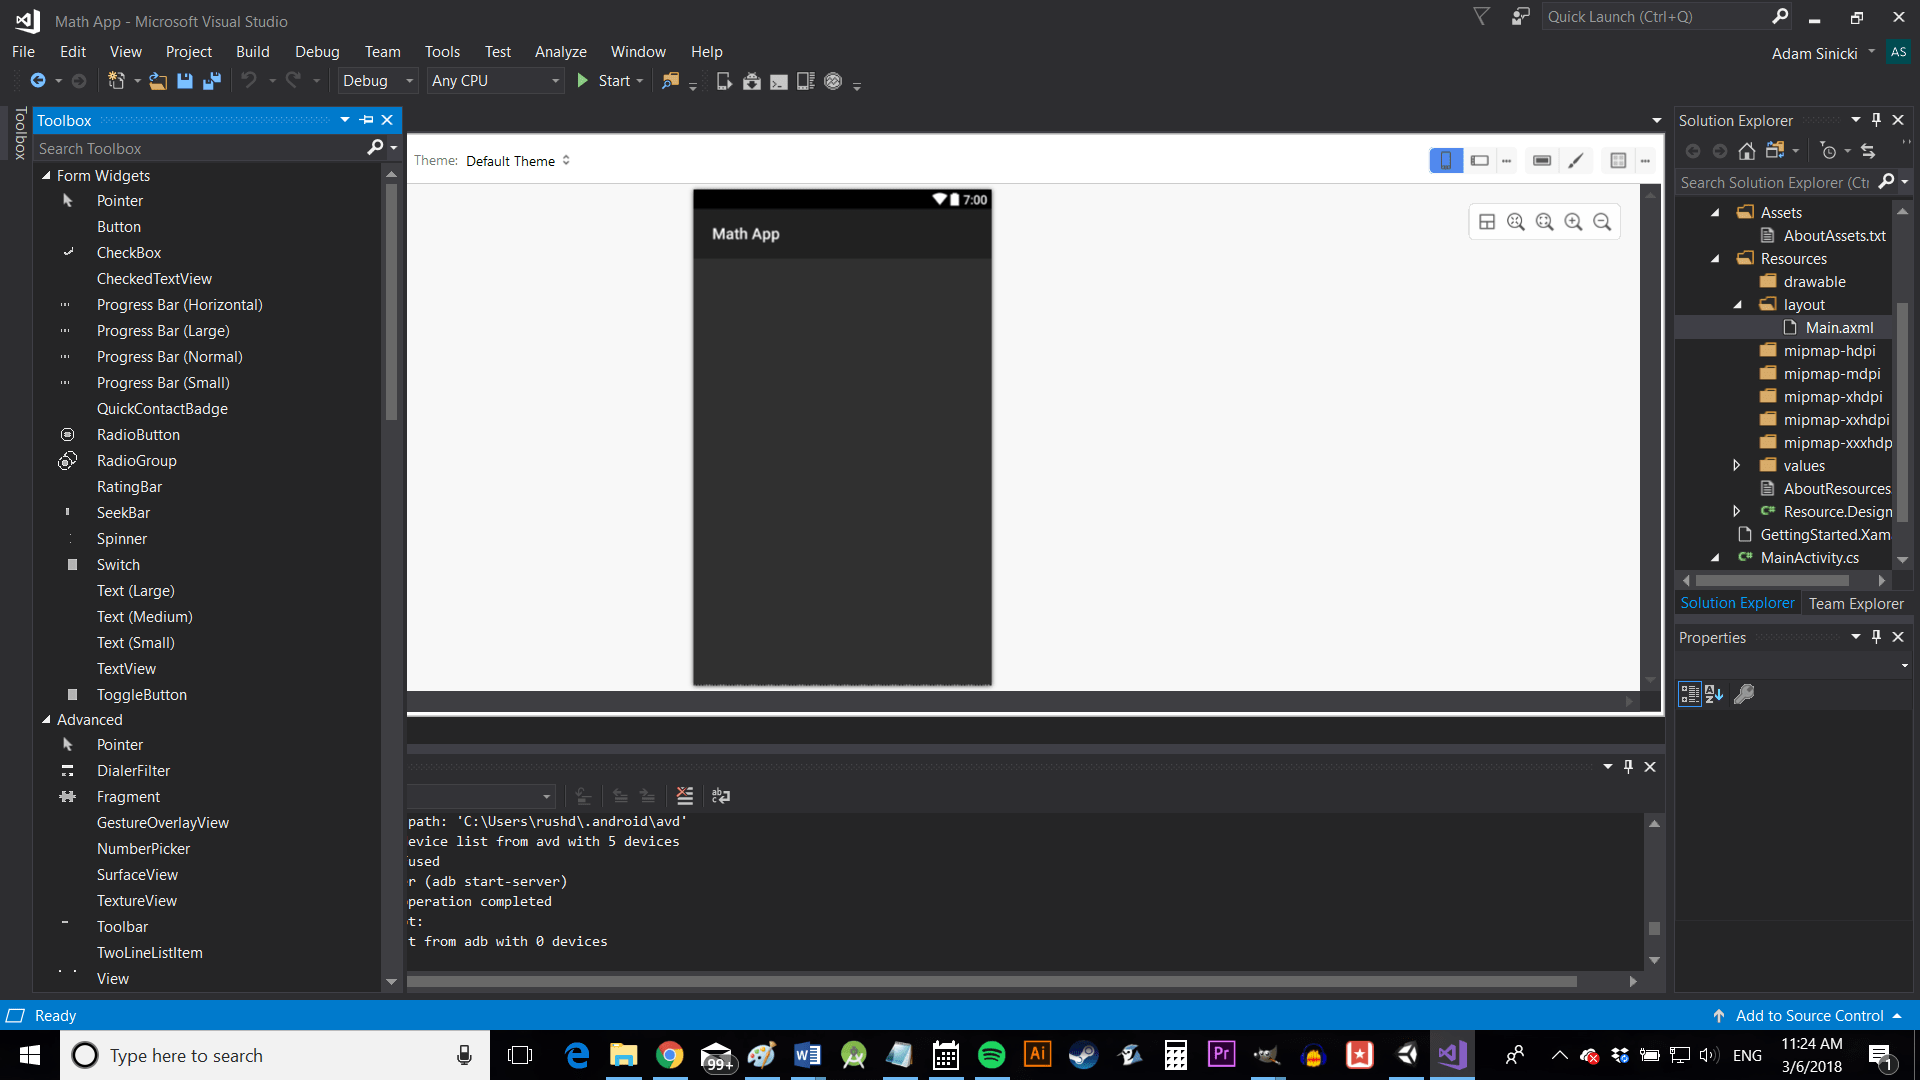
Once you’re presented with your first project, you’ll find your file hierarchy in a window called “Solution Explorer.” In here, locateMainActivity.csand double click on it to open up the code for your main activity. Meanwhile, you’ll be able to find the resource file underResources > layout > Main.axml. As with Android Studio development, the layout file handles the look of your app and position of the views, while the cs file takes care of the logic and the behavior.
When you click on the axml file, you’ll see a preview of your app open up in a Designer. This will let you drag and drop individual elements into your design and move them around. Notice the toolbox option hidden on the left. Click that to expand a menu containing TextViews, ImageViews, and more for easy access.
Creating a UI
Let’s start out by giving our game a cool logo. To do that, first create your logo however you wish. Then right-click on theResources > drawablefolder in the solution explorer and select “Open Folder in File Explorer.” You can then drag and drop your image in.
When you return to Visual Studio, you’ll need to add that file to your project, which is an additional step on top of the process in Android Studio. Right-click on the folder again, then go toAdd > Existing Itemand navigate to the graphic in the explorer that pops up.
Now you can add the image view to yourMain.axmlfile. Either drag the Image View in the designer or add it in script just as you normally would. You’ll also want to define the image that will show here and a bit of the layout:
We’ll be working with a linear layout by default, which suits our purposes just fine. If you want to, you can test the appearance in the emulator.
Now that’s in order, let’s add the rest of the UI. We’re going to want to show our maths challenge in a text view, then provide somewhere for the user to enter their response and create a button for them to submit it. I’ve also added text views at the bottom to show the number of right and wrong answers. I used a blank text view with a weight of “1” and gave the two edit texts a weight of “0.” The weight attribute tells Android which items fighting for space on the screen get priority. Because the height of the blank view is “match parent,” it will swell to fill all available space and push the two score fields down the bottom. If you’re familiar with Android Studio, chances are you’ll have done things like this in the past. Otherwise, just copy and paste this code:
Be sure to useinput_type = “number”on your edit text to accept only numerical responses.
You won’t be able to add new views while the app is running, so click the stop button next to the play icon to disconnect. I just saved you hours of frustration; you are welcome. If you want to further customize the look of your app, click the paintbrush tool in the designer to open up the “theme editor.”
Generating questions
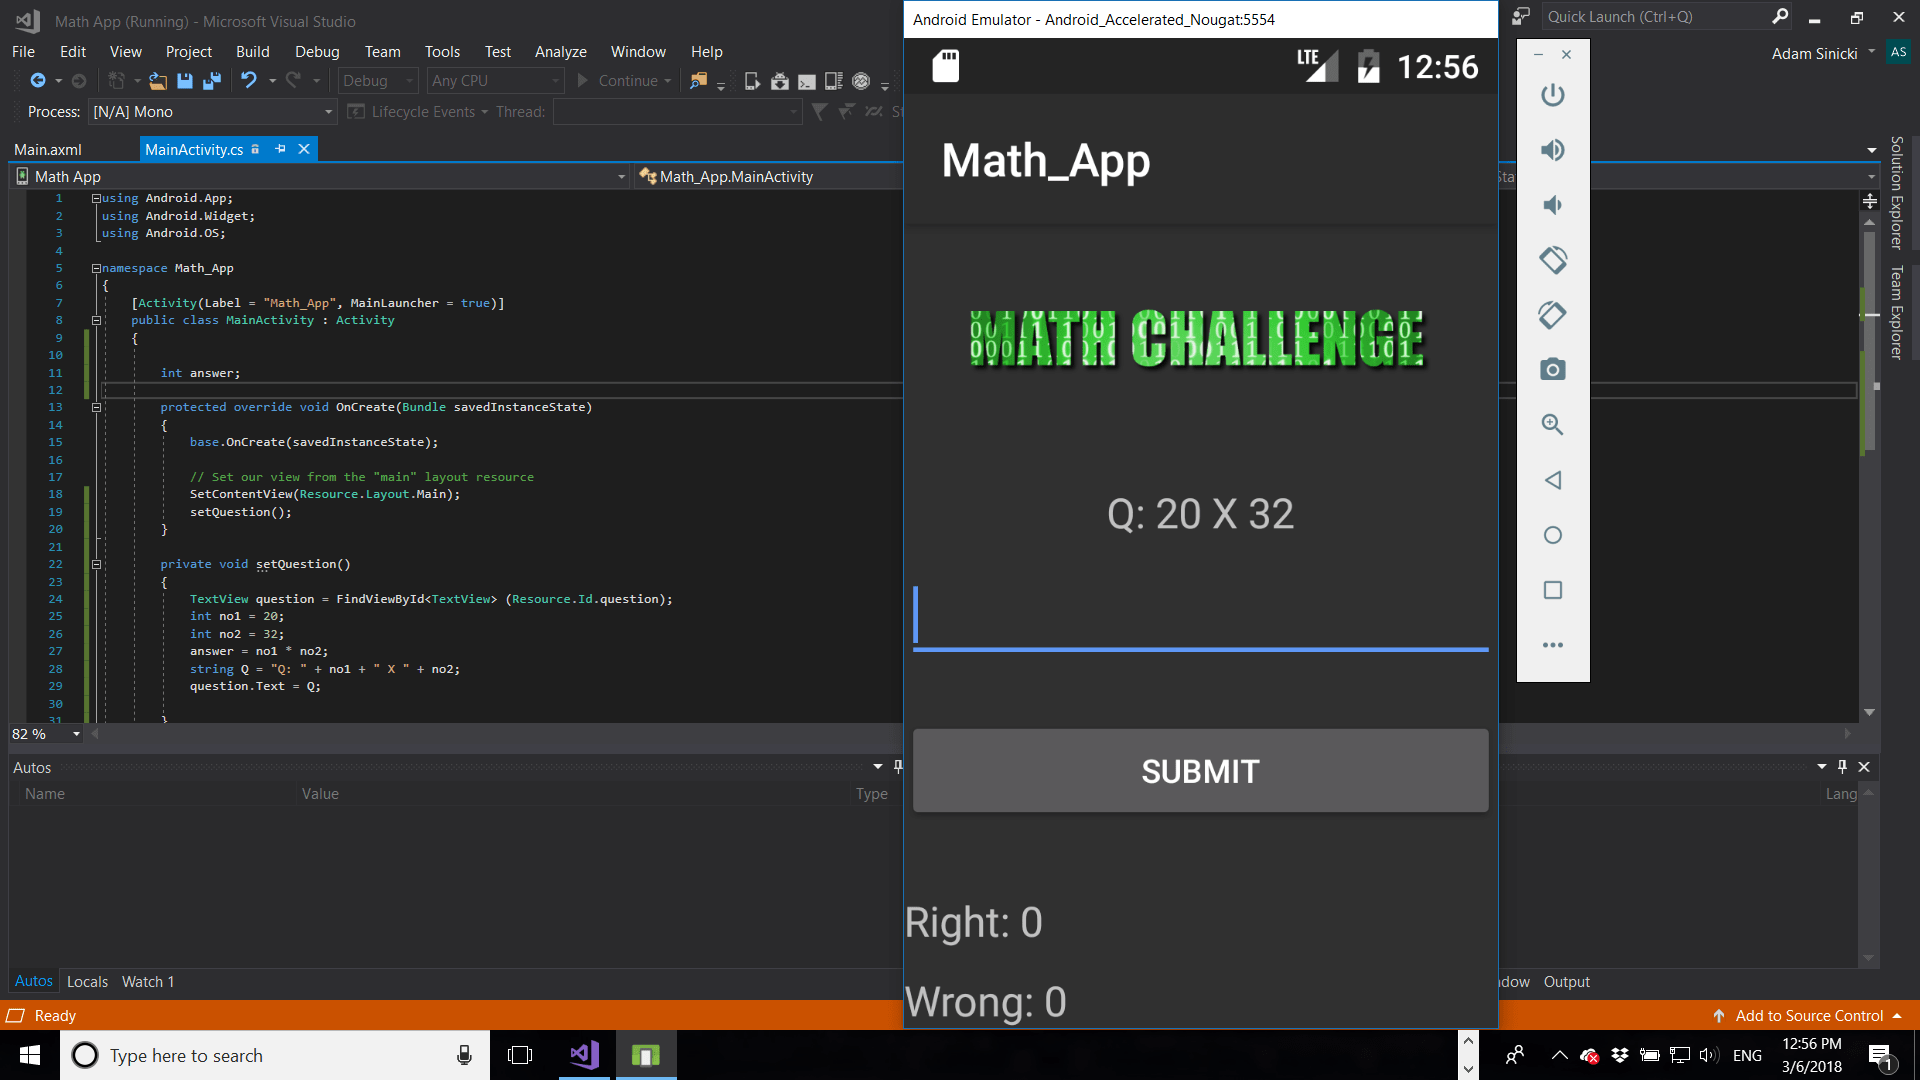
Now that we have lots of buttons and things, it’s time to make them do something. Start by finding the question TextView and setting it to something random. We’ll do that in a new method so we can easily refresh the question each time.
Here’s what it will look like:
The answer is global so we can check it against the player’s attempt later.
Pretty much everything here works the same as in Android Studio. The only difference is we aren’t usingsetTextto change the question.
Of course, there’s one glaring limitation here: we’ve only set one question so far, and it’s being shown over and over again! Let’s generate a random number.
To do that, use these lines:
This will generate two random numbers in the range of 1-99 (so the first number is inclusive and the second is not).
It won’t work right away because you’ll need to import the relevant class, or — as Visual Studio puts it — you’re missing a director or assembly reference. As in Android Studio, select the underlined text and pressAlt + Returnto solve the problem. You’ll be prompted to addusing System;to the top of your script.
Checking answers
To let the user attempt to answer the question, you first need to add anonClick. This is done slightly differently in Xamarin, as you’ll be using something called “delegate.” Delegate is an object that contains information about a method — in this case, theonClick.
I’m simply going to call a method from theonClick, as that’s a slightly more organized way to handle it. Here is the method:
Here we’re just testing the value ofanswer(which we set earlier) against the value we grabbed from the edit text.Int.Parselets us grab an integer from the text field and as with Java, we use “==” to compare the two numbers. We then either increase the number of right answers or wrong answers, depending on the outcome, clear everything, and set the question again.
Testing the app and wrapping up
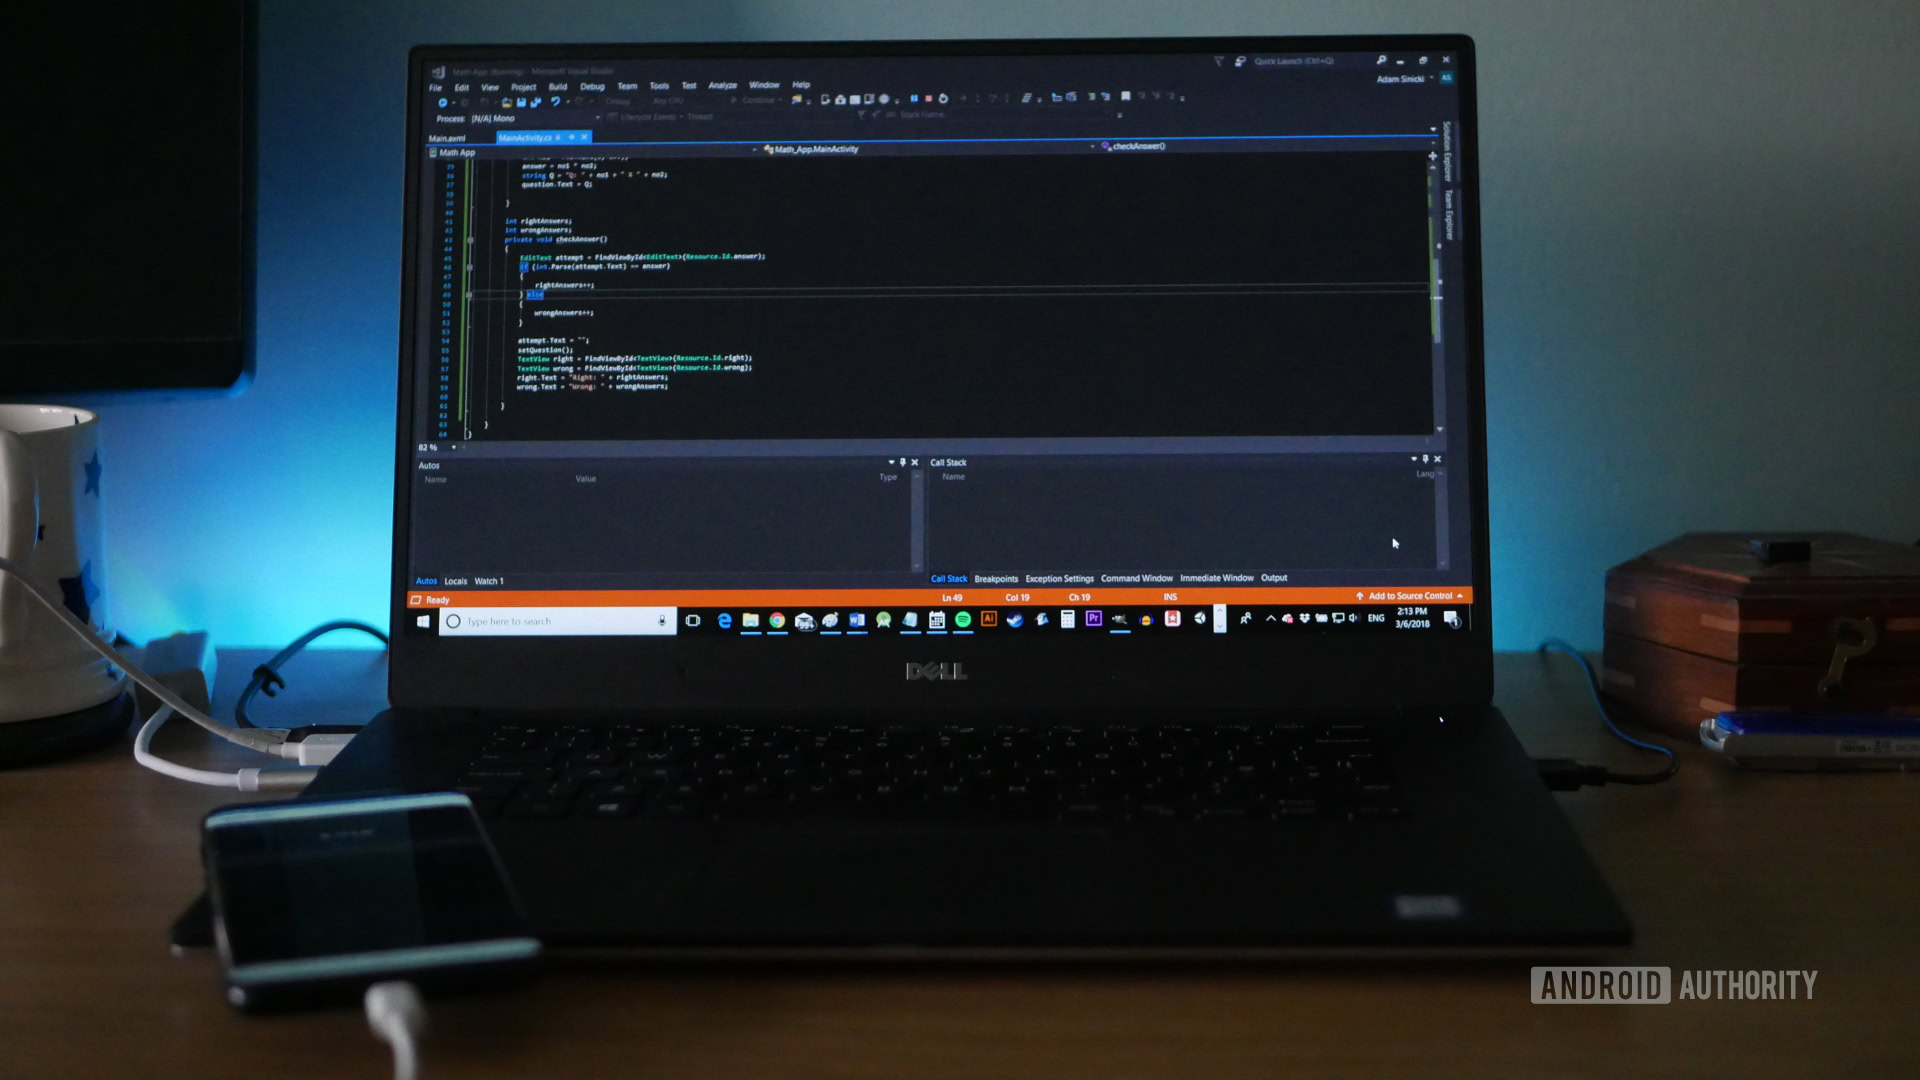
To test this app in the emulator, use the AVD Manager to create and launch one and hit the green play button. Debugging in Visual Studio is nice and quick and even highlights lines in your code where things went wrong. You could also plug in your Android device — just select it from the drop-down menu next to the play button and hit go.
Using Xamarin is great for cross-platform development and for those who prefer C#. It’s actually a pretty nice experience overall too; it’s pretty quick compared to Android Studio and has a clean UI.
If you’d like to see more Xamarin tutorials, let us know in the comments down below and we can look at things like switching between activities, using libraries, and more!
Thank you for being part of our community. Read ourComment Policybefore posting.
