Affiliate links on Android Authority may earn us a commission.Learn more.
Transferring user data to a new device with Smart Lock, Google Sign-In, and Auto Backup
August 01, 2025
Getting a new Android smartphone or tablet is exciting, but it’s also a risky time for application developers. It’s easy to lose your audience when they switch to a new device.
Wherever possible, the Android system automatically downloads the user’s previously-installed applications during device setup, so your app will typically follow the user to their new device. But what about all the data the user has amassed in your application?

Your typical Android application contains a wealth of information users will want to bring with them, ranging from their username and password, to any changes they’ve made to the settings, and even documents and images created within your application.
When the user launches your app on their shiny new Android device, they should be able to pick up exactly where they left off, rather than discovering all the time and effort they’ve invested in your application has been completely lost!
Let’s look at several ways you’re able to store and then restore that all-important user data, including an easy way of backing up all your app’s data to the cloud, and an API that keeps users logged into your app, even if they switch to a new device.
Saving your application’s data to Google Drive
In Android 6.0 and higher, you can use Auto Backup to save 25MB of your app’s data to a private folder in the user’s Google Drive account, without contributing to their Google Drive quota. Whenever your app is reinstalled, this data will be restored from Google Drive automatically.
Auto Backup is the easiest way to backup application data and many apps already use it. To see which applications are already using this feature on your own Android device:

If your app targets Android 6.0 or higher, then Auto Backup is enabled by default, as theandroid:allowBackupattribute defaults to true. However, there’s never any guarantee Android’s default behavior won’t change in a future release, so you should always be explicit about the features your application supports.
To make it clear your app supports Auto Backup, add this to your Manifest:
Do you need to include everything in your backups?
By default, Auto Backup will store almost all of your app’s content, including shared preference files, custom data saved to your app’s internal storage, and persistent files saved to external storage.
However, occasionally you may need to manually exclude some content from your Auto Backups:
If you need to specify what data’s stored by Auto Backup, you can create a file of include/exclude rules:
Open this file and create your rules:
You specify the location of each file or folder, using the “domain” attribute. In the above example, both items are located insharedpref, but there are several other values you may use:
When creating your rules, there are a few points to bear in mind:
Once you’ve created your rules, you just need to reference this file in your project’s Manifest:
Testing your app’s Auto Backup support
Backups occur automatically whenever all these conditions are met:
Typically, this equates to around one backup per day, but when testing your app you don’t have to wait 24 hours for a backup to occur naturally! You can test your app’s Auto Backup support on-demand, using adb (Android Debug Bridge) commands, which run from the Terminal (Mac) or Command Prompt (Windows).
You’ll find the .adb program in your Android/sdk/platform-tools folder, so open a Terminal/Command Prompt Window and “change directory” to point at the platform-tools folder:
cd /Users/jessicathornsby/Library/Android/sdk/platform-tools
Next, make sure you’ve enabled Auto Backup and registered a Google account on the device or emulator you’re using to test your app.
To verify Auto Backup has restored its data successfully, you’ll need to generate some user data, like a username or password into your app.
Once you’re ready to create a backup, run the following command in the Terminal or Command Prompt window:
./adb shell bmgr backupnow <YOUR-APP’S-PACKAGE-NAME>
After a few moments, the command should return this:
Backup finished with result: Success
To restore this backup, uninstall your application and then reinstall it. When your app launches, all the data included in the backup should already have been restored.
Transfer usernames and passwords to a new device
If your app has any kind of sign-in experience, it should remember the user’s login details, even when they switch to a new device.
Unlike web browsers where users may periodically delete their history and cache, mobile users tend to log into an application once and then stay logged in.
When you’re excited to use a new device, the last thing you want to do is remember application passwords you haven’t typed in years.There are several ways that your app can recover user credentials and then log the user in automatically, even when they switch to a new device.
Implement Google Sign-In
Google Sign-In lets people log into your application using their Gmail address and password.
Implementing Google Sign-In in your application is particularly effective, as many Android devices ask users for their Google account details as part of the device setup dialog. By the time the user reaches your application, there’s a high chance they’ll have already stored their Google account details on their new device.
If the user has enabled automatic login, you may even be able to log them in automatically the very first time they launch your app. Even if the user hasn’t activated automatic login, Google Sign-In makes logging into your application as simple as tapping a “Sign in with Google” button.
To implement Google Sign-In, create aGoogle API Console project, then open your project’s build.gradle file and add Google Play Services as a project dependency:
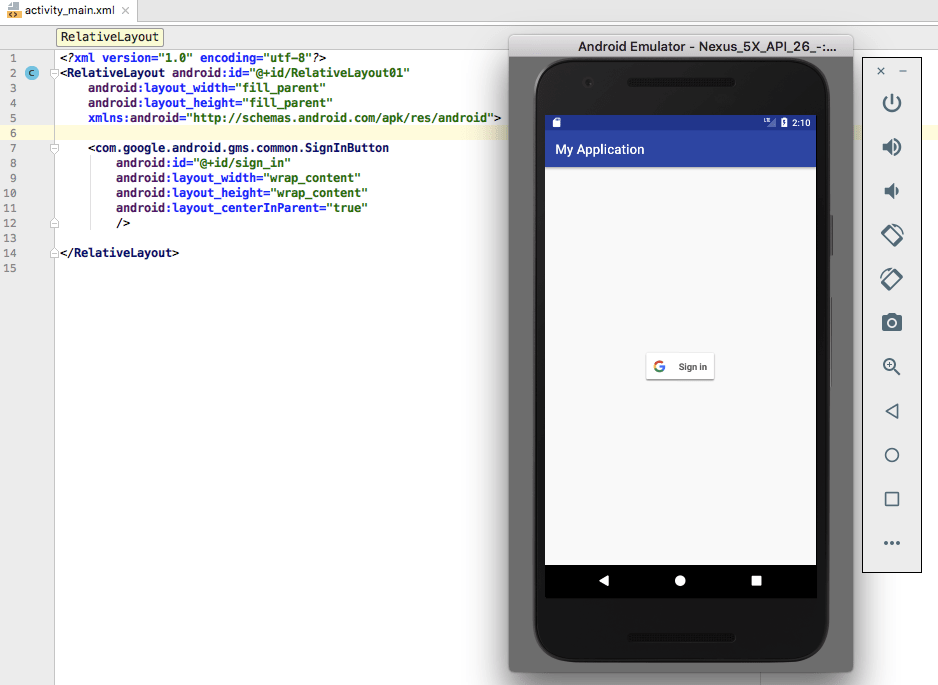
Google provides a standard “Sign in with Google” button, too:
Users typically log into a mobile app once and then remain logged in, so you should always check whether the user is currently signed into your application:
IfGoogleSignIn.getLastSignedInAccountreturns null, then the user isn’t logged into your application, and you should give them the option to log in using their Google account:
Whenever the user taps the “Sign In With Google” button, you should start the sign-in Intent:
Next, handle the Activity result:
Store your password in the cloud with Smart Lock
Smart Lock for Passwords syncs the user’s passwords with their Google account. By adding Smart Lock support to your application, you’re able to store users’ passwords in the cloud, and retrieve them automatically on all subsequent logins, rather than displaying a “Sign In” screen. Assuming a user signs in with the same Google account on their new device, your app’s password will be automatically available on this new device.
To add Smart Lock for Passwords support to your app, you’ll need to add Google Play Services as a project dependency:
Next, you’ll need to retrieve the user’s credentials from the cloud. This requires us to implementGoogleApiClient.ConnectionCallbacksandGoogleApiClient.OnConnectionFailedListenerso our app can handle successful and failed connection attempts:
Then create aCredentialRequestobject:
Now that you’re connected, request any credentials available for your application:
If a credential is received, use this information to sign the user into your application:
If the user signs in with a new set of credentials, your app needs to store this information so it can be retrieved on subsequent logins:
At this point, your application will ask the user to confirm they want to save this password to Smart Lock, so your final task is handling the user’s response:
Transfer accounts over Bluetooth
If the user logs into your application using a unique username and password, you can copy this information from their previous device, to their new device as part of the device setup process, using Android’s Account Transfer API.
This API creates a connection between the user’s previous (source) device and their new (target) device, and transfers your application’s login credentials over an encrypted Bluetooth connection, or via a phone-to-phone USB cable if the new device happens to be a Pixel.
To use the Account Transfer API, you need to add Google Play Services 11.2.0 or higher to your project:
Next, you’ll need to update your project’s Manifest to listen for the various broadcasts associated with the Account Transfer API.
When the user opts to transfer data, the source device will send an ACTION_START_ACCOUNT_EXPORT broadcast for which your application will need to listen:
If data is available to be imported, then your app will receive theACTION_ACCOUNT_IMPORT_DATA_AVAILABLEbroadcast:
You’ll also need to register to listen for theACTION_ACCOUNT_EXPORT_DATA_AVAILABLEbroadcast, which will be received by the source device:
To send account data from a source device, you’ll need to start an authenticator service and callsendData()in response to theACTION_START_ACCOUNT_EXPORTbroadcast.
The setup wizard on the target device will then receive the account data.
Upon receiving theACTION_ACCOUNT_IMPORT_DATA_AVAILABLEbroadcast, your app will need to start a service, callingretrieveData()to retrieve data from the source device.
Wrapping up
We only looked at how to restore and preserve application data using Auto Backup, Google Sign-In, Smart Lock, and the Account Transfer API, but there’s lots of different ways do it.
Do you use any techniques not mentioned in this article? Let us know in the comments below!
Thank you for being part of our community. Read ourComment Policybefore posting.
